

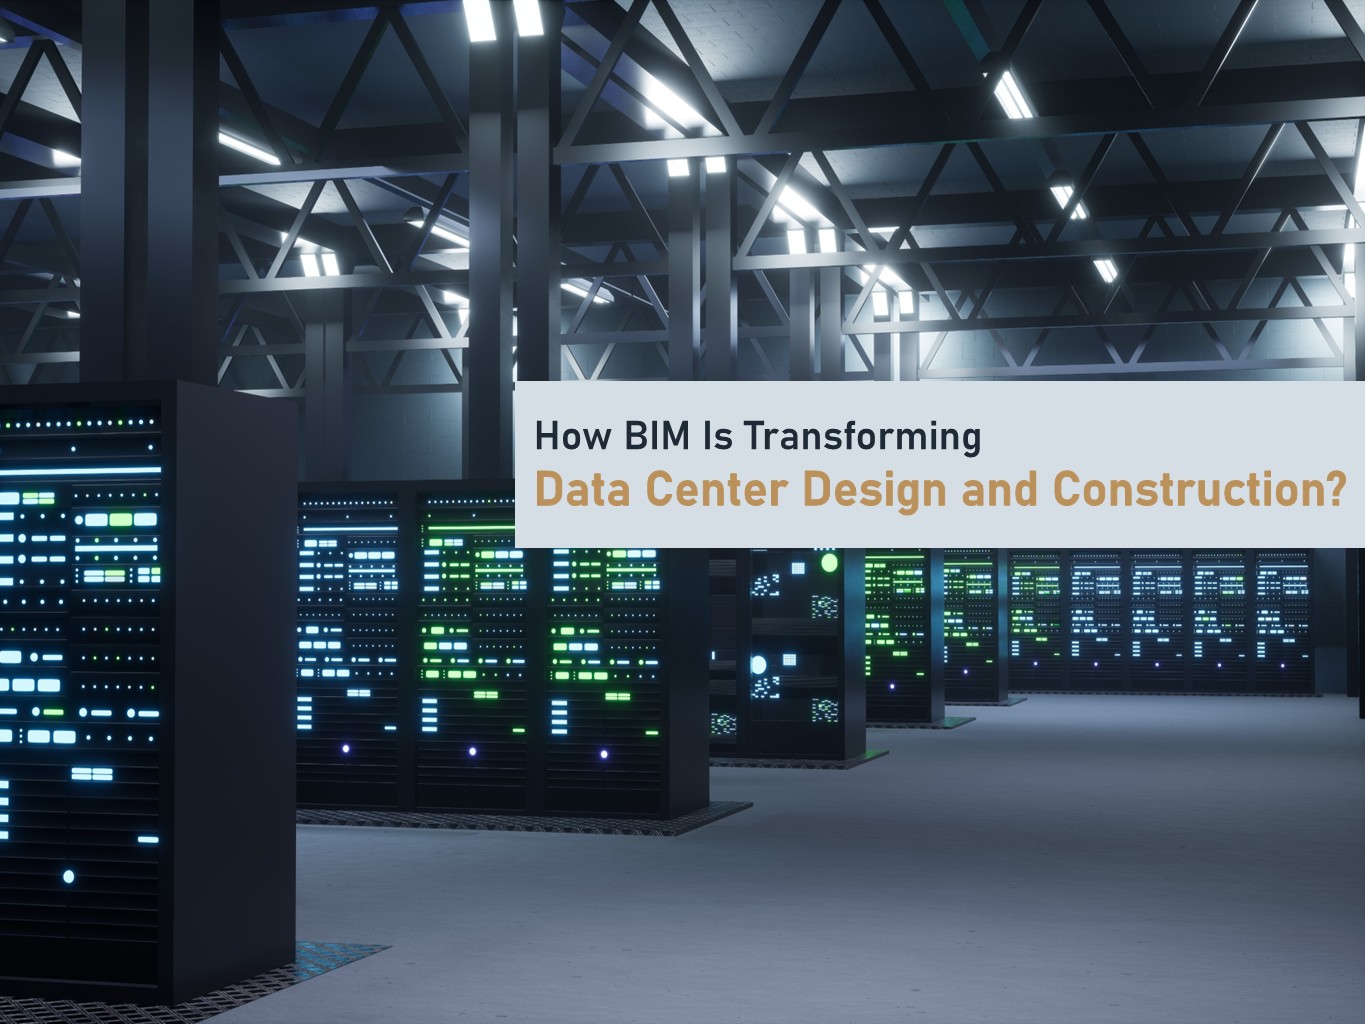
How BIM Is Transforming Data Center Design and Construction
November 26, 2025
Data centers today are among the most demanding and technically complex projects in the construction world. These buildings run the digital infrastructure of modern busines...

What Is Point Cloud to BIM and How Does It Reduce Project Risks?
November 26, 2025
In today’s construction and architecture projects, accuracy is very important. Even small measurement mistakes can cause design conflicts, budget issues, and project delays...

Revit Drafting: The Complete Guide to 2D Detailing in a BIM World
May 14, 2025
When we think of Revit, the first thing that usually comes to mind is 3D modeling — smart walls, floors, roofs, and intelligent building components. But behind every beauti...
How to Implement BIM in a Small or Medium-Sized Architecture Firms
May 8, 2025
How to Implement BIM in a Small or Medium-Sized Architecture Firms
In the ever-changing world of architecture, small and medium-sized firms often find themselves f...

Common Data Environment (CDE) – All You need to Know
May 1, 2025
In any construction project, data is everywhere. From architectural drawings to material schedules, and from clash reports to contracts — it’s all critical. But if that inf...
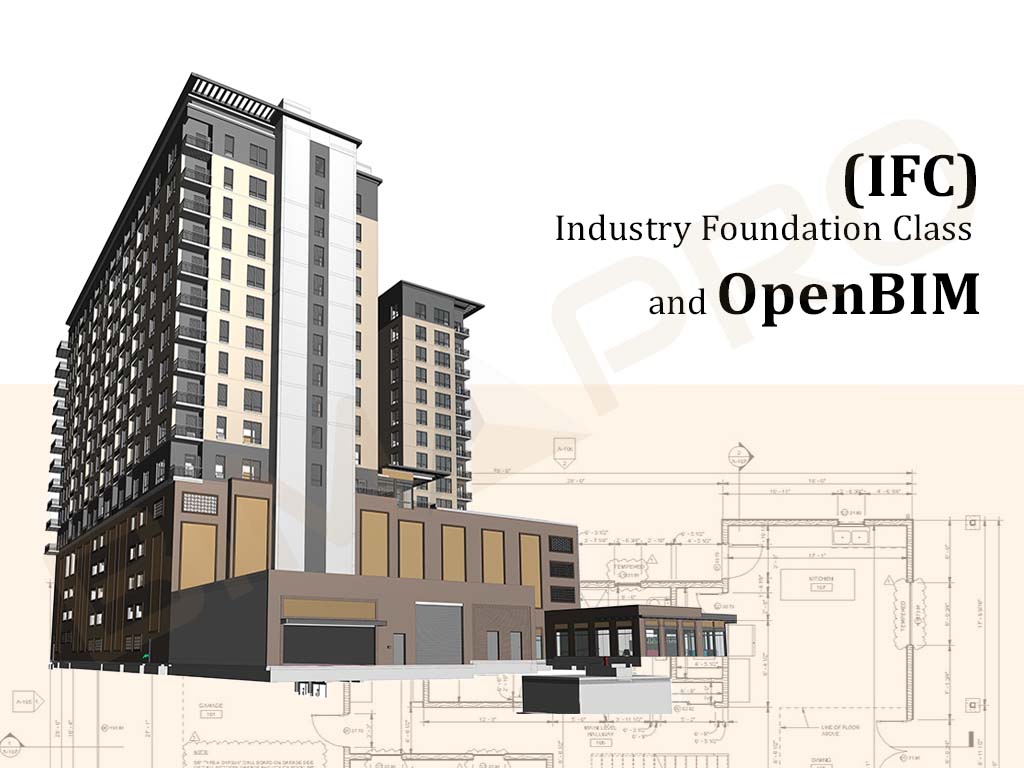
IFC and OpenBIM: What You Need to Know
April 21, 2025
IFC and OpenBIM: What You Need to Know?
In the modern AEC world, digital collaboration is essential. The process of designing, building, and maintaining structures...