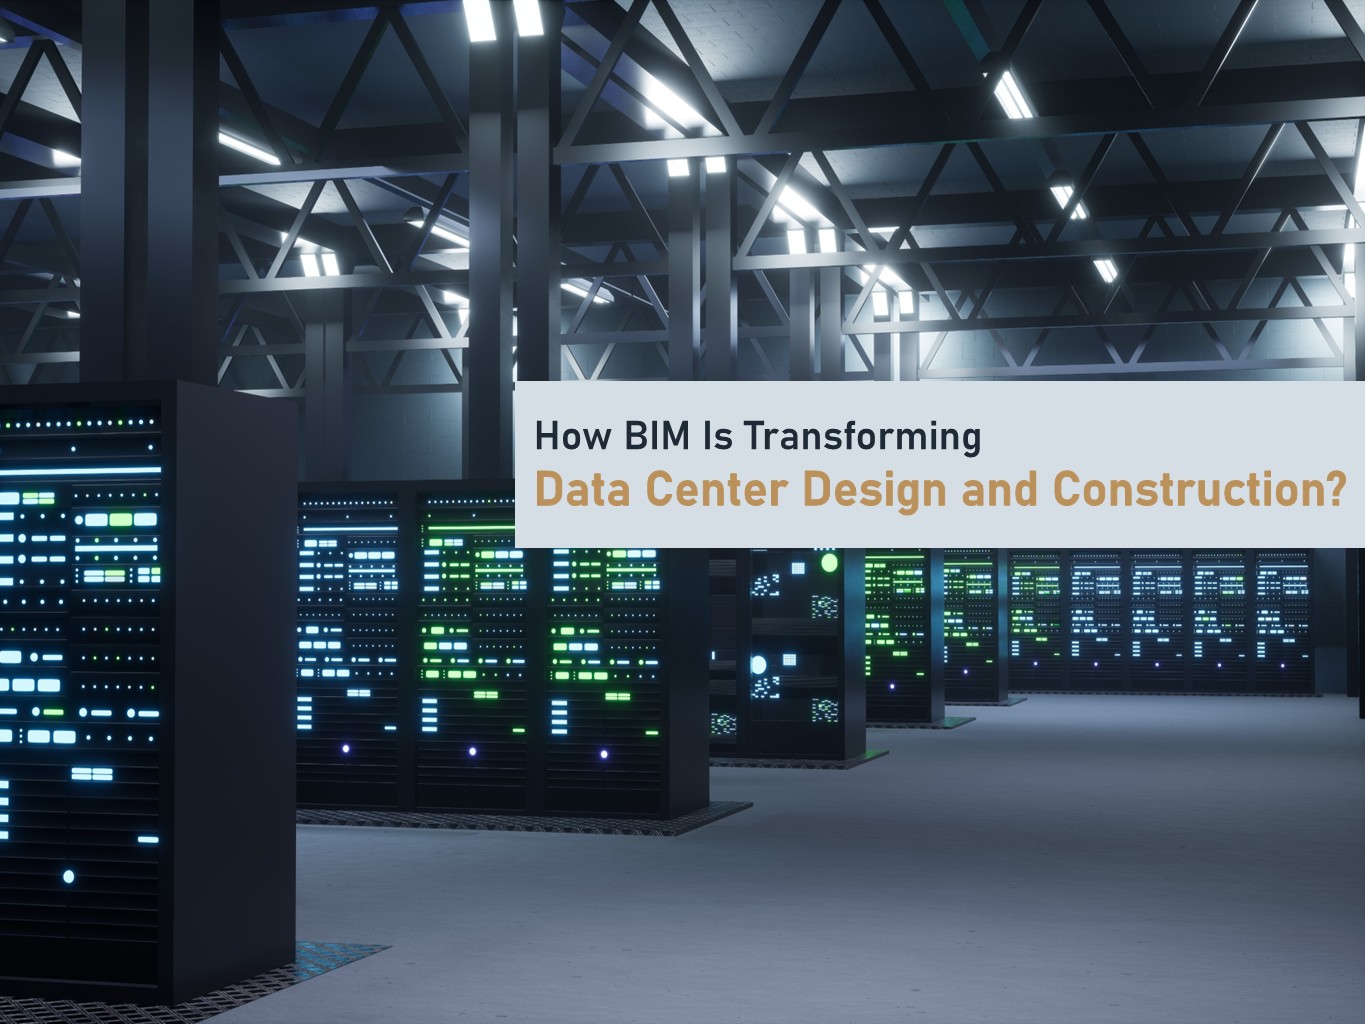
How BIM Is Transforming Data Center Design and Construction

Data centers today are among the most demanding and technically complex projects in the construction world. These buildings run the digital infrastructure of modern businesses, storing everything from banking systems to cloud data, AI workloads, and sensitive information. Because of this, even the smallest design or construction error can lead to performance issues, high energy consumption, or costly downtime. This is exactly why Building Information Modeling (BIM) has become an essential part of how data centers are planned, designed, coordinated, and delivered across the USA.
BIM brings every system—architecture, structure, electrical, HVAC, fire protection, cabling, and IT equipment—into one intelligent 3D environment. It allows teams to see the entire facility before it is built, understand complex routing, avoid clashes, plan for redundancy, and deliver projects with far greater speed and confidence. In this blog, let’s explore how BIM is transforming modern data center design and construction.
Understanding the Complexity of Modern Data Centers
Designing a data center is not the same as designing a normal commercial building. These facilities need to handle heavy electrical loads, advanced cooling systems, thousands of feet of cabling, and multiple layers of redundancy to support 24/7 uptime. Power systems must be backed up by UPS units and generators, cooling systems must be perfectly balanced to avoid hot spots, and all equipment must comply with Tier III or Tier IV standards.
With so many interdependent systems packed into tight spaces, traditional 2D drawings are simply not enough. They often fail to capture conflicts between systems, leading to rework, delays, and cost overruns. BIM solves this problem by giving every stakeholder a clear, coordinated, and fully detailed digital model of the entire data center before construction begins.
How BIM Improves Data Center Design and Coordination
- Better Visual Understanding Through 3D Models
One of the biggest advantages of BIM is the ability to visualize the entire data center in 3D before construction begins. This is especially crucial for data centers where mechanical room are dense, cable trays and conduits overlap, colling and airflows pathways need precise routing. Project team can rotate, inspect, and coordinate systems clearly and reducing errors that typically happen in 2D plans.
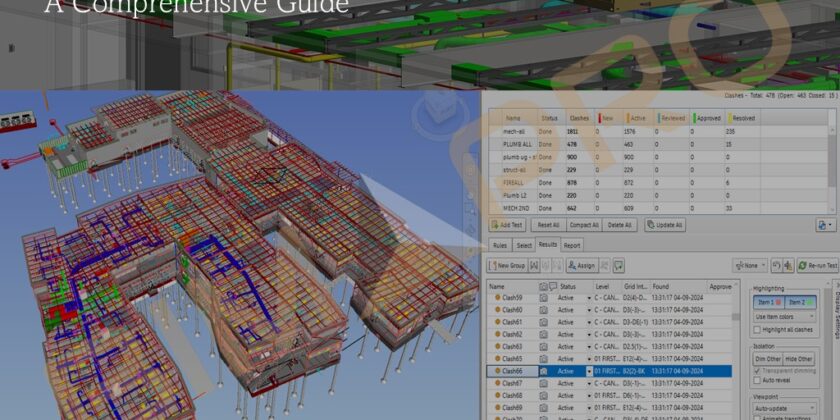
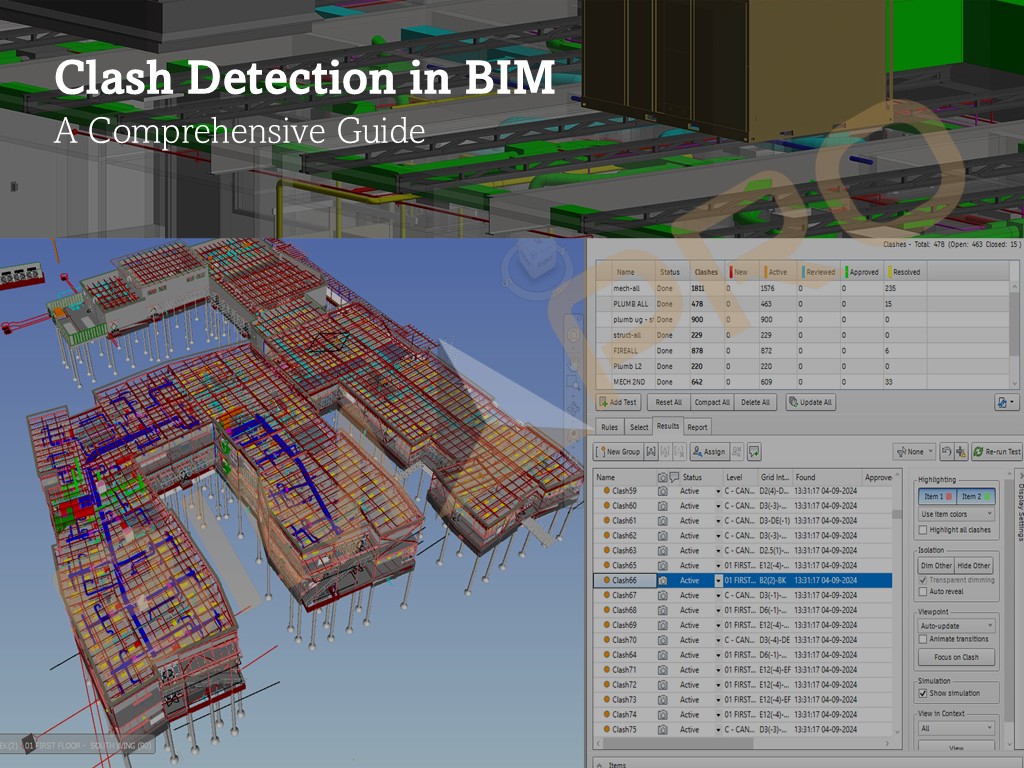
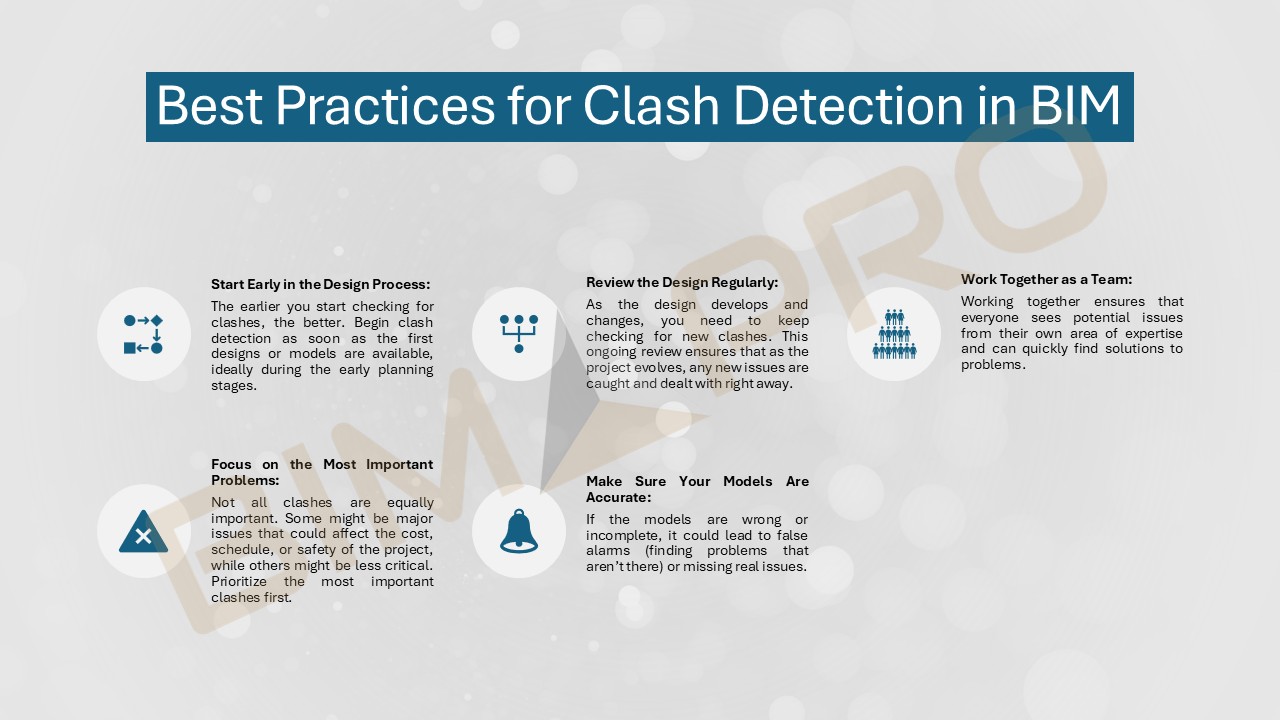
2. Clash Detection Saves Time and Cost
Data centers are MEP-heavy projects. Even a small clash between ducts and cable trays, electrical conduits and chilled water pipes, fire suppression and ventilation systems can cause major delays during installation. BIM tools like Revit, Navisworks, or ACC Coordinate automatically detect these clashes early in the design stage. This helps teams avoid rework, reduce onsite change orders, speed up construction schedules, and maintain clean routing.
3. BIM Helps Maintain Redundancy and Reliability
Data centers are MEP-heavy projects. Even a small clash between ducts and cable trays, electrical conduits and chilled water pipes, fire suppression and ventilation systems can cause major delays during installation. BIM tools like Revit, Navisworks, or ACC Coordinate automatically detect these clashes early in the design stage. This helps teams avoid rework, reduce onsite change orders, speed up construction schedules, and maintain clean routing.
4. Improved Cooling and Airflow Management
Cooling systems are the hear of any data center. Even the smallest inefficiency increases power usage and decrease equipment life. Using BIM, you can visualize hot aisle/cold aisle layouts, model CRAH/CRAC units, plan airflow distribution, identify heat pockets, improve overall energy efficiency. This leads to a better PUE (Power Usage Effectiveness) and reduced operational costs.
5. Faster Prefabrication and Modular Construction
Data centers today are being delivered faster than ever. Many owners are adopting prefabricated electrical skids, modular data center pods, and premanufactured mechanical racks. BIM plays a huge role in prefabricating by ensuring exact dimensions, accurate tolerances, smooth installation, and fewer field errors. This reduces labor costs, material waste, and construction time.
6. Effective Collaboration Across All Teams
BIM creates a shared platform where architects, engineers, general contractors, MEP contractors, and owners can all communicate in real time. Teams can work on a common 3D model, share updates instantly, track version history, maintain transparency, and ensure aligned project goals.
7. Digital Twins for Data Center Operations
After construction, data centers need continuous monitoring for equipment health, cooling performance, power usage, fire system readiness. A BIM based digital twin acts as a live replica of the facility. It helps facility management teams to track assets, plan maintenance, predict failures, improve efficiency, reduce downtime.
Conclusion: BIM is the Future of Data Center Construction
BIM is no longer just a design tool—it is a complete digital process that transforms how data centers are planned, coordinated, built, and maintained. From clash-free MEP coordination to improved cooling performance, and from prefabrication to digital twins, BIM ensures that data centers meet the highest standards of reliability and efficiency. As the USA continues to see rapid growth in digital infrastructure, BIM will remain at the center of every successful data center project. Contact BIMPRO LLC today and let us help you build a smarter and more efficient data center.